These treks combine the cultural landscapes of the Sham region with high-altitude wilderness routes inside Hemis National Park.
Starting from villages like Lamayuru or Likir, the routes gradually move from lower-altitude trails into remote mountain passes, wildlife-rich valleys, and classic trekking routes like Markha Valley.
These are challenging, multi-day homestay treks designed for:
Some routes offer an “easy start” via Likir, allowing better acclimatisation before reaching higher terrain.
Traditional Ladakhi homestays with home-cooked meals. Basic facilities including compost toilets. Tented camping at Nimaling on extended Markha routes.
Explore the different routes available within this region. Each route offers a unique experience — from gentle introductions to challenging high-altitude crossings.
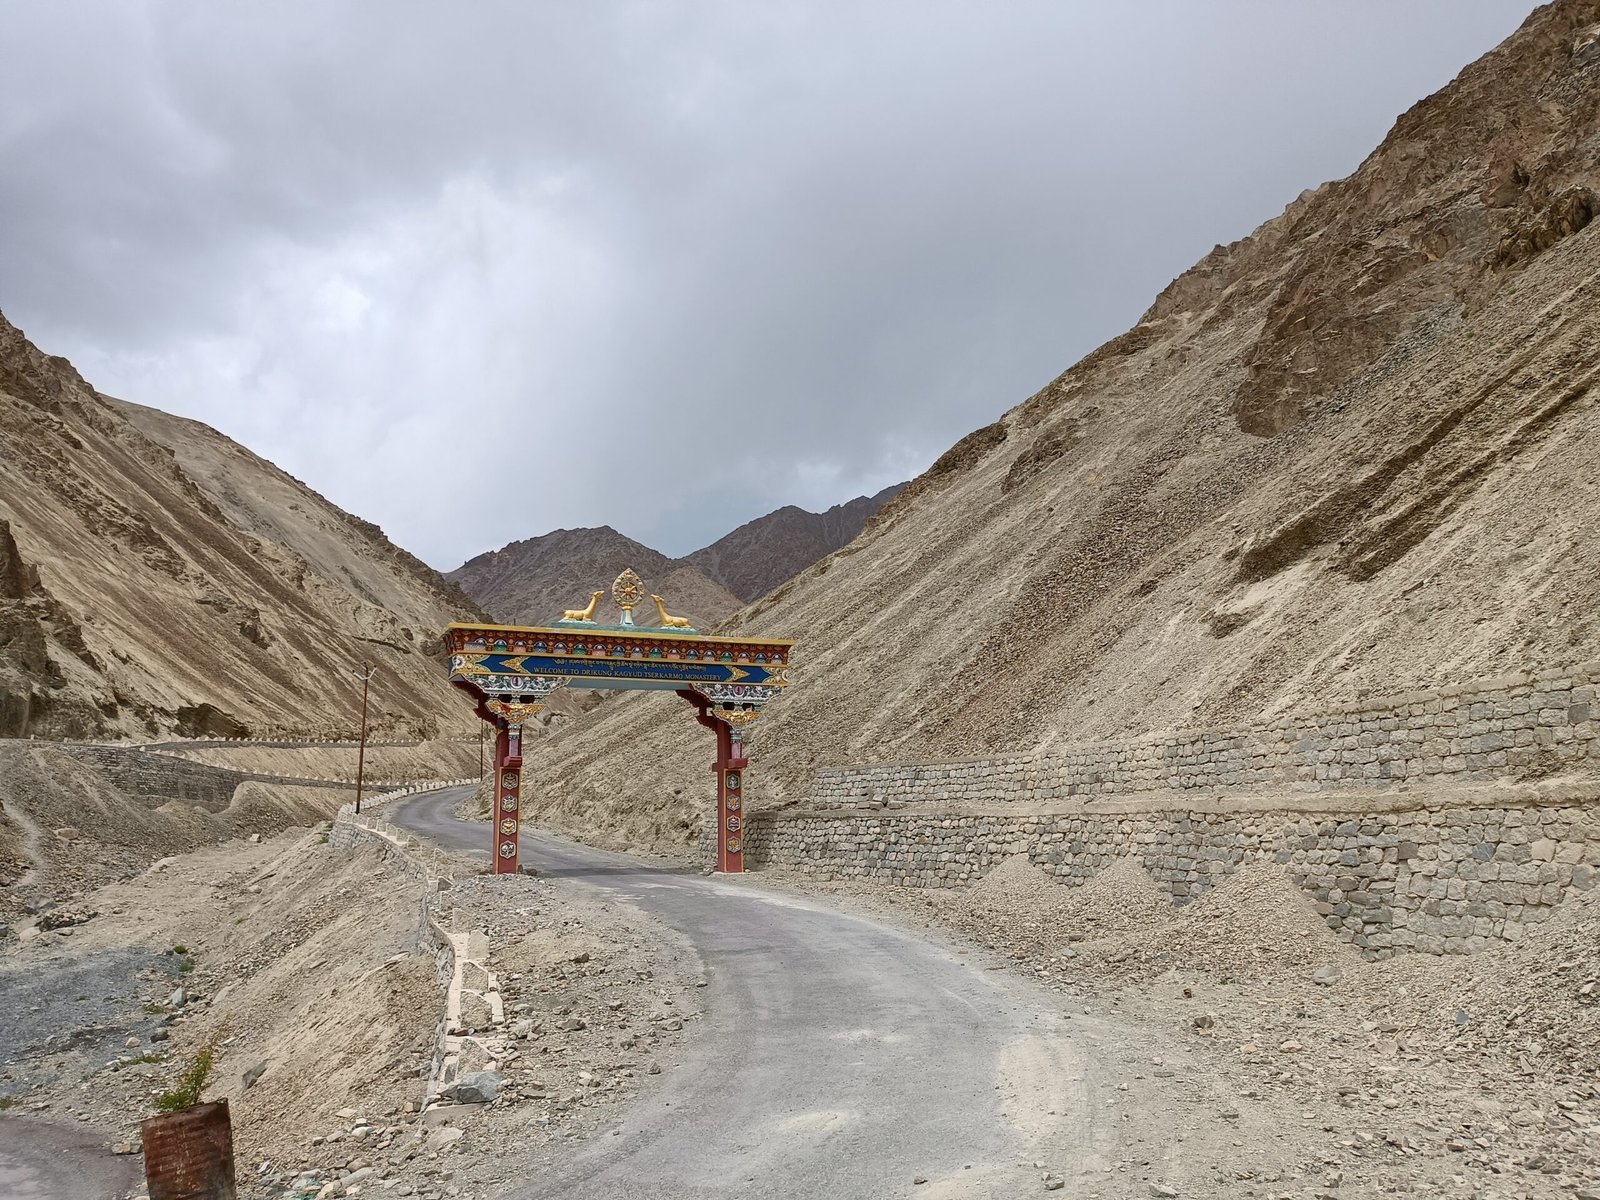
A compact but demanding high-pass trek through remote Sham region terrain ending at Chilling.
Drive Leh to Lamayuru, visit monastery, cross Prinkiti La (3,730m) and descend to Wanla.
Wanla to Urtsi via Bumiktse La (3,960m) along scenic ridge trails.
Trek from Urtsi to Hinju with gradual ascent and village exploration.
Cross Konzke La (4,950m) before descending to Sumdah-Chenmo.
Cross Lanak La (4,210m) and Dundunchen La (4,620m), reach Chilling and drive back to Leh.
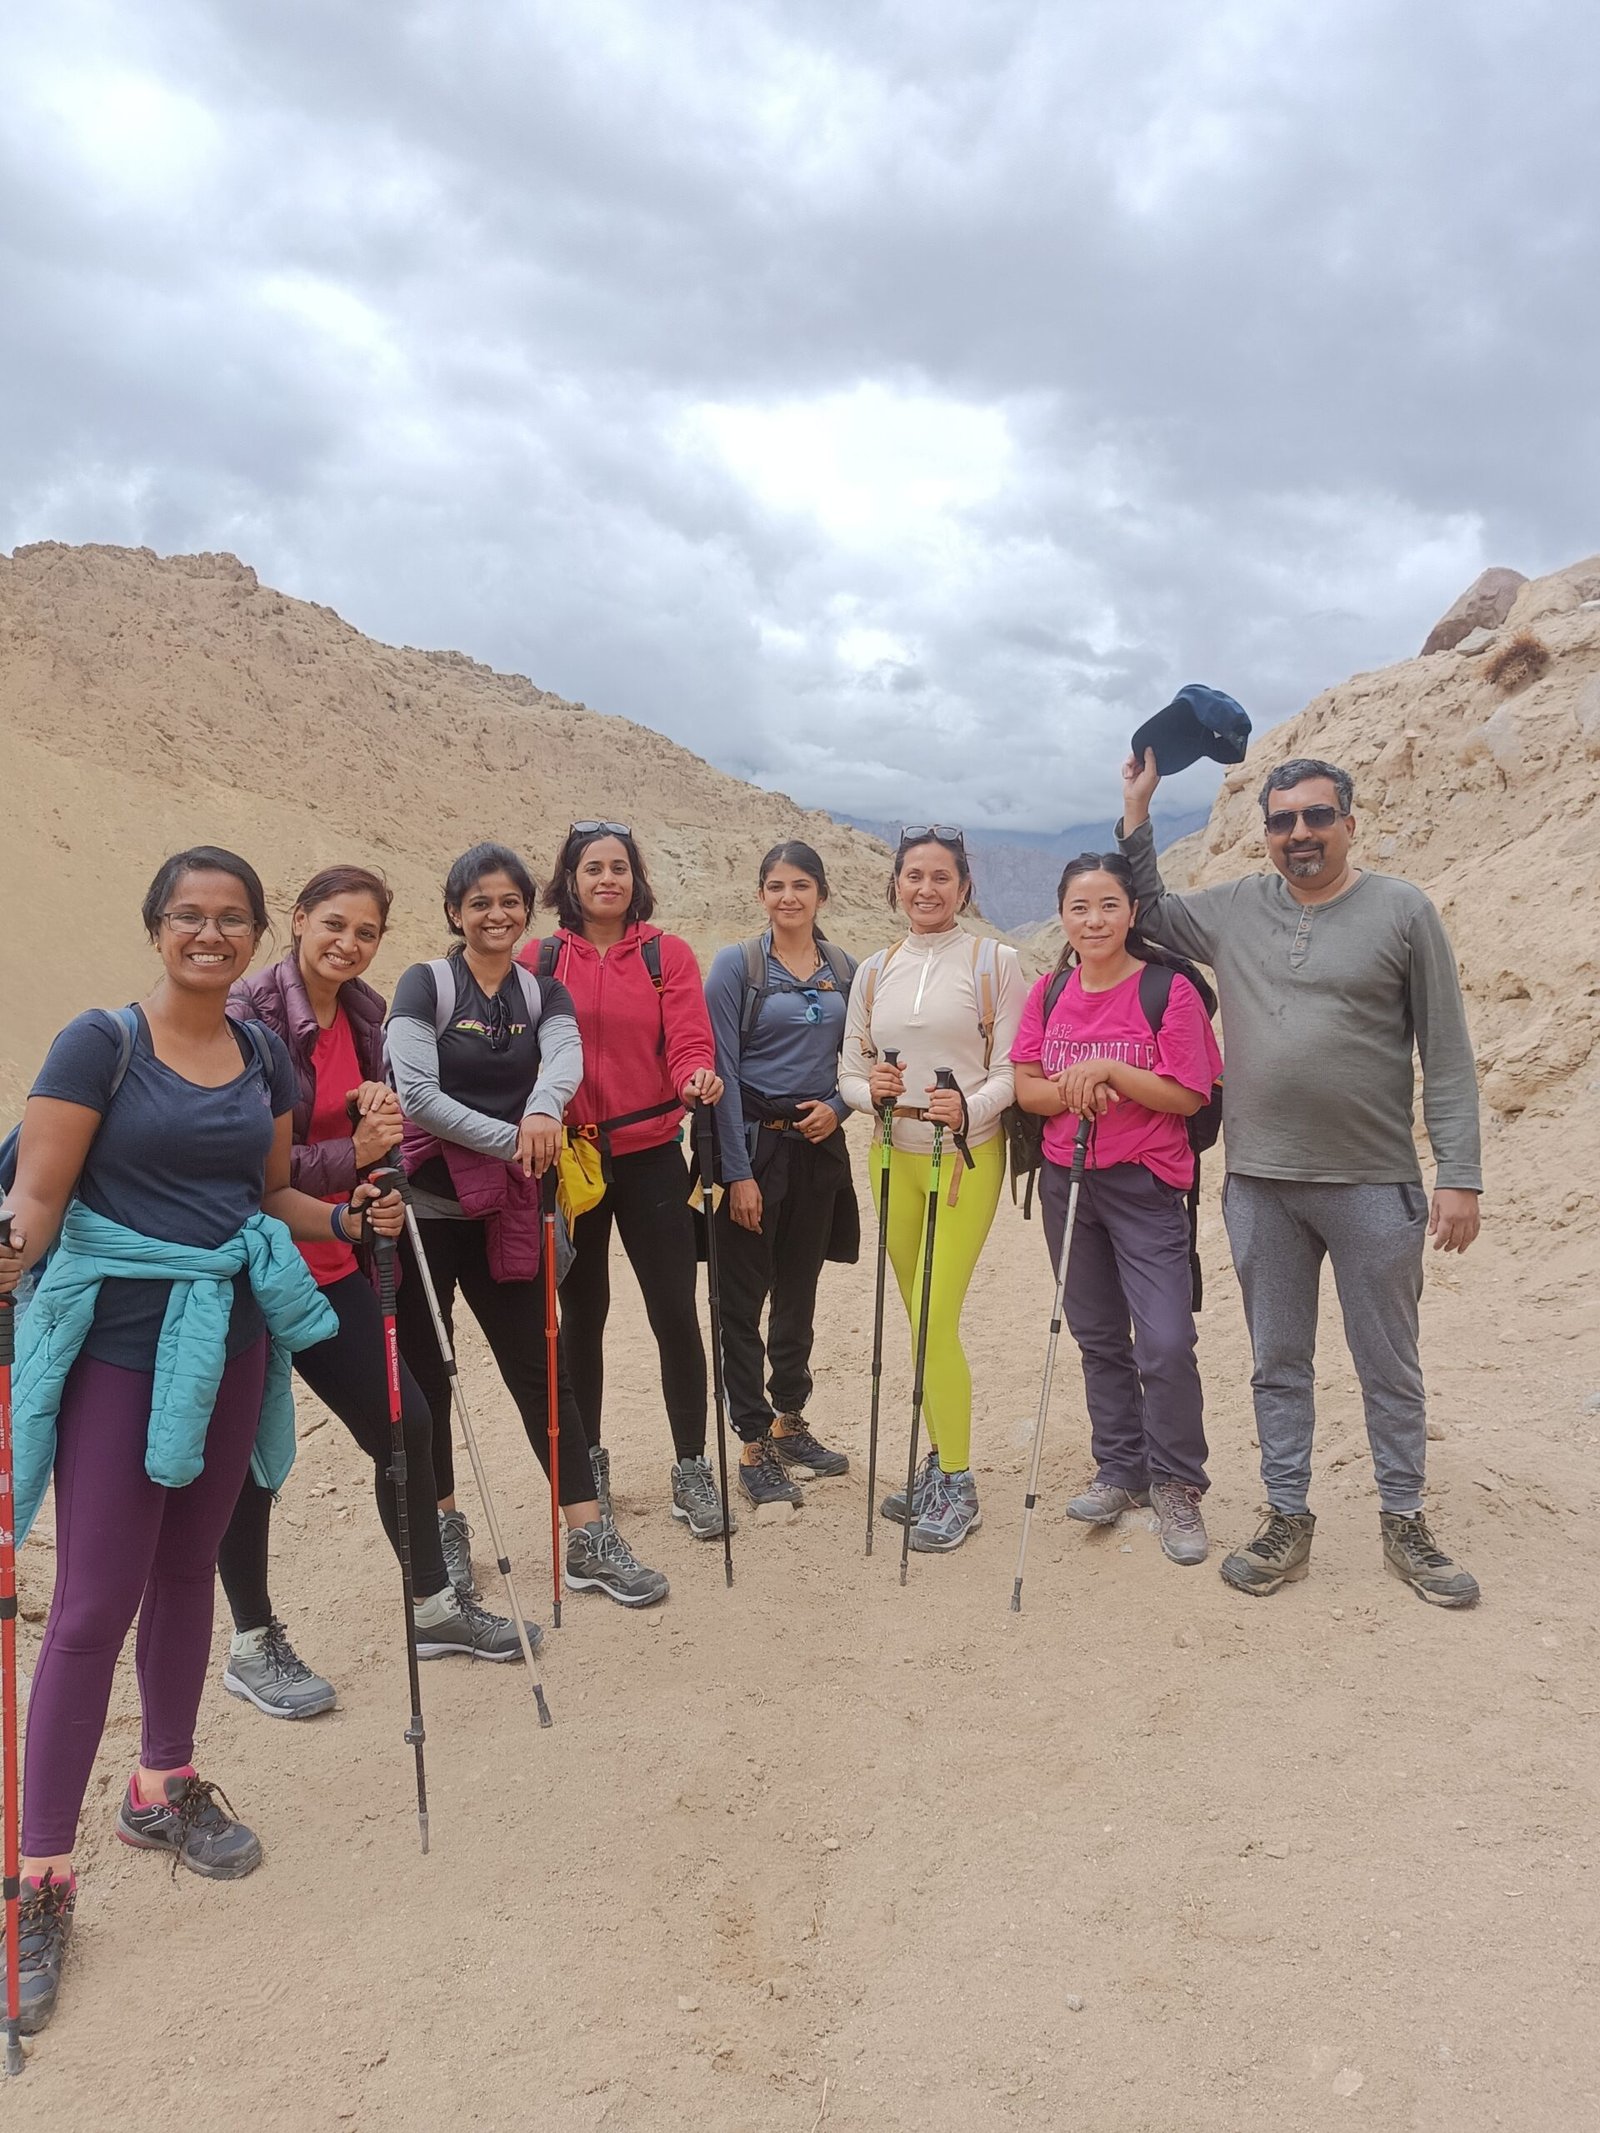
Extends the high-pass route into Hemis National Park through wildlife-rich valleys.
Follow the Lamayuru to Chilling itinerary.
Drive to Skiu and trek into Shingo Valley.
Cross Ganda La (4,850m), descend to Rumbak and drive to Leh.
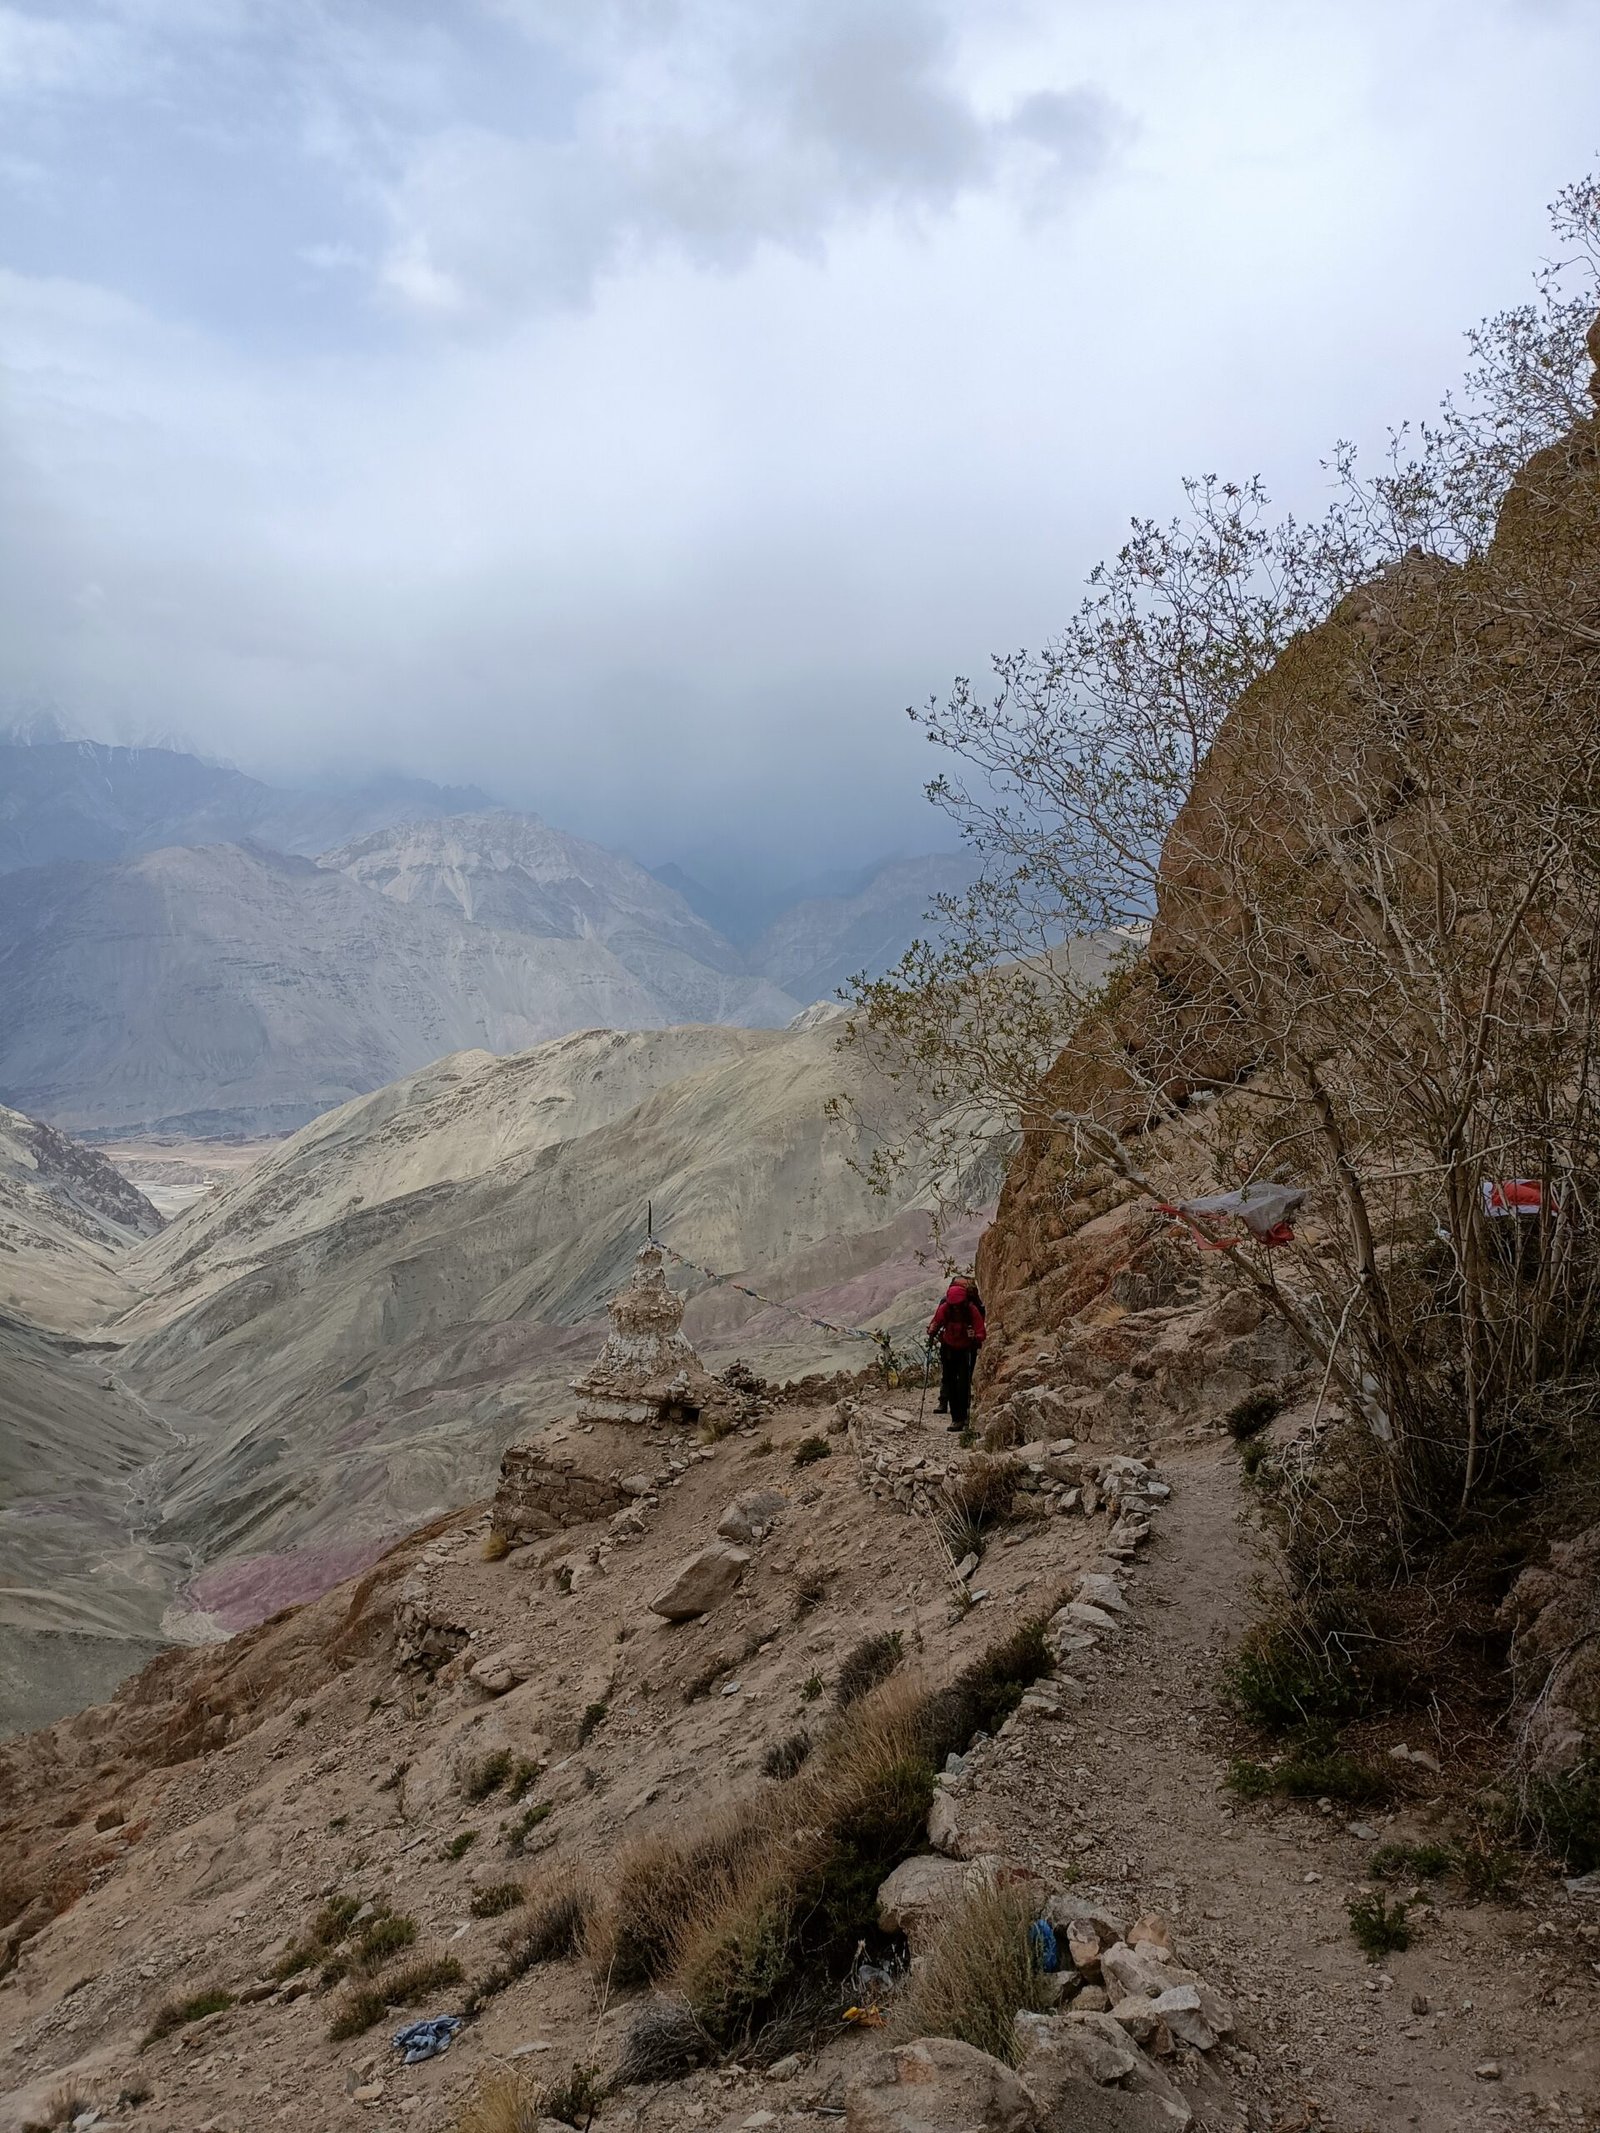
Starts gradually through Sham Valley before joining the Lamayuru high-pass section.
Leh to Likir and trek to Yangthang via Pobe La and Charatse La.
Yangthang to Ang via Sarmanchan La and Lago La.
Acclimatisation walk around Ang and nearby villages.
Drive to Lamayuru and trek to Wanla.
Wanla to Urtsi.
Urtsi to Hinju.
Cross Konzke La to Sumdah-Chenmo.
Cross Lanak La and Dundunchen La to Chilling before driving to Leh.
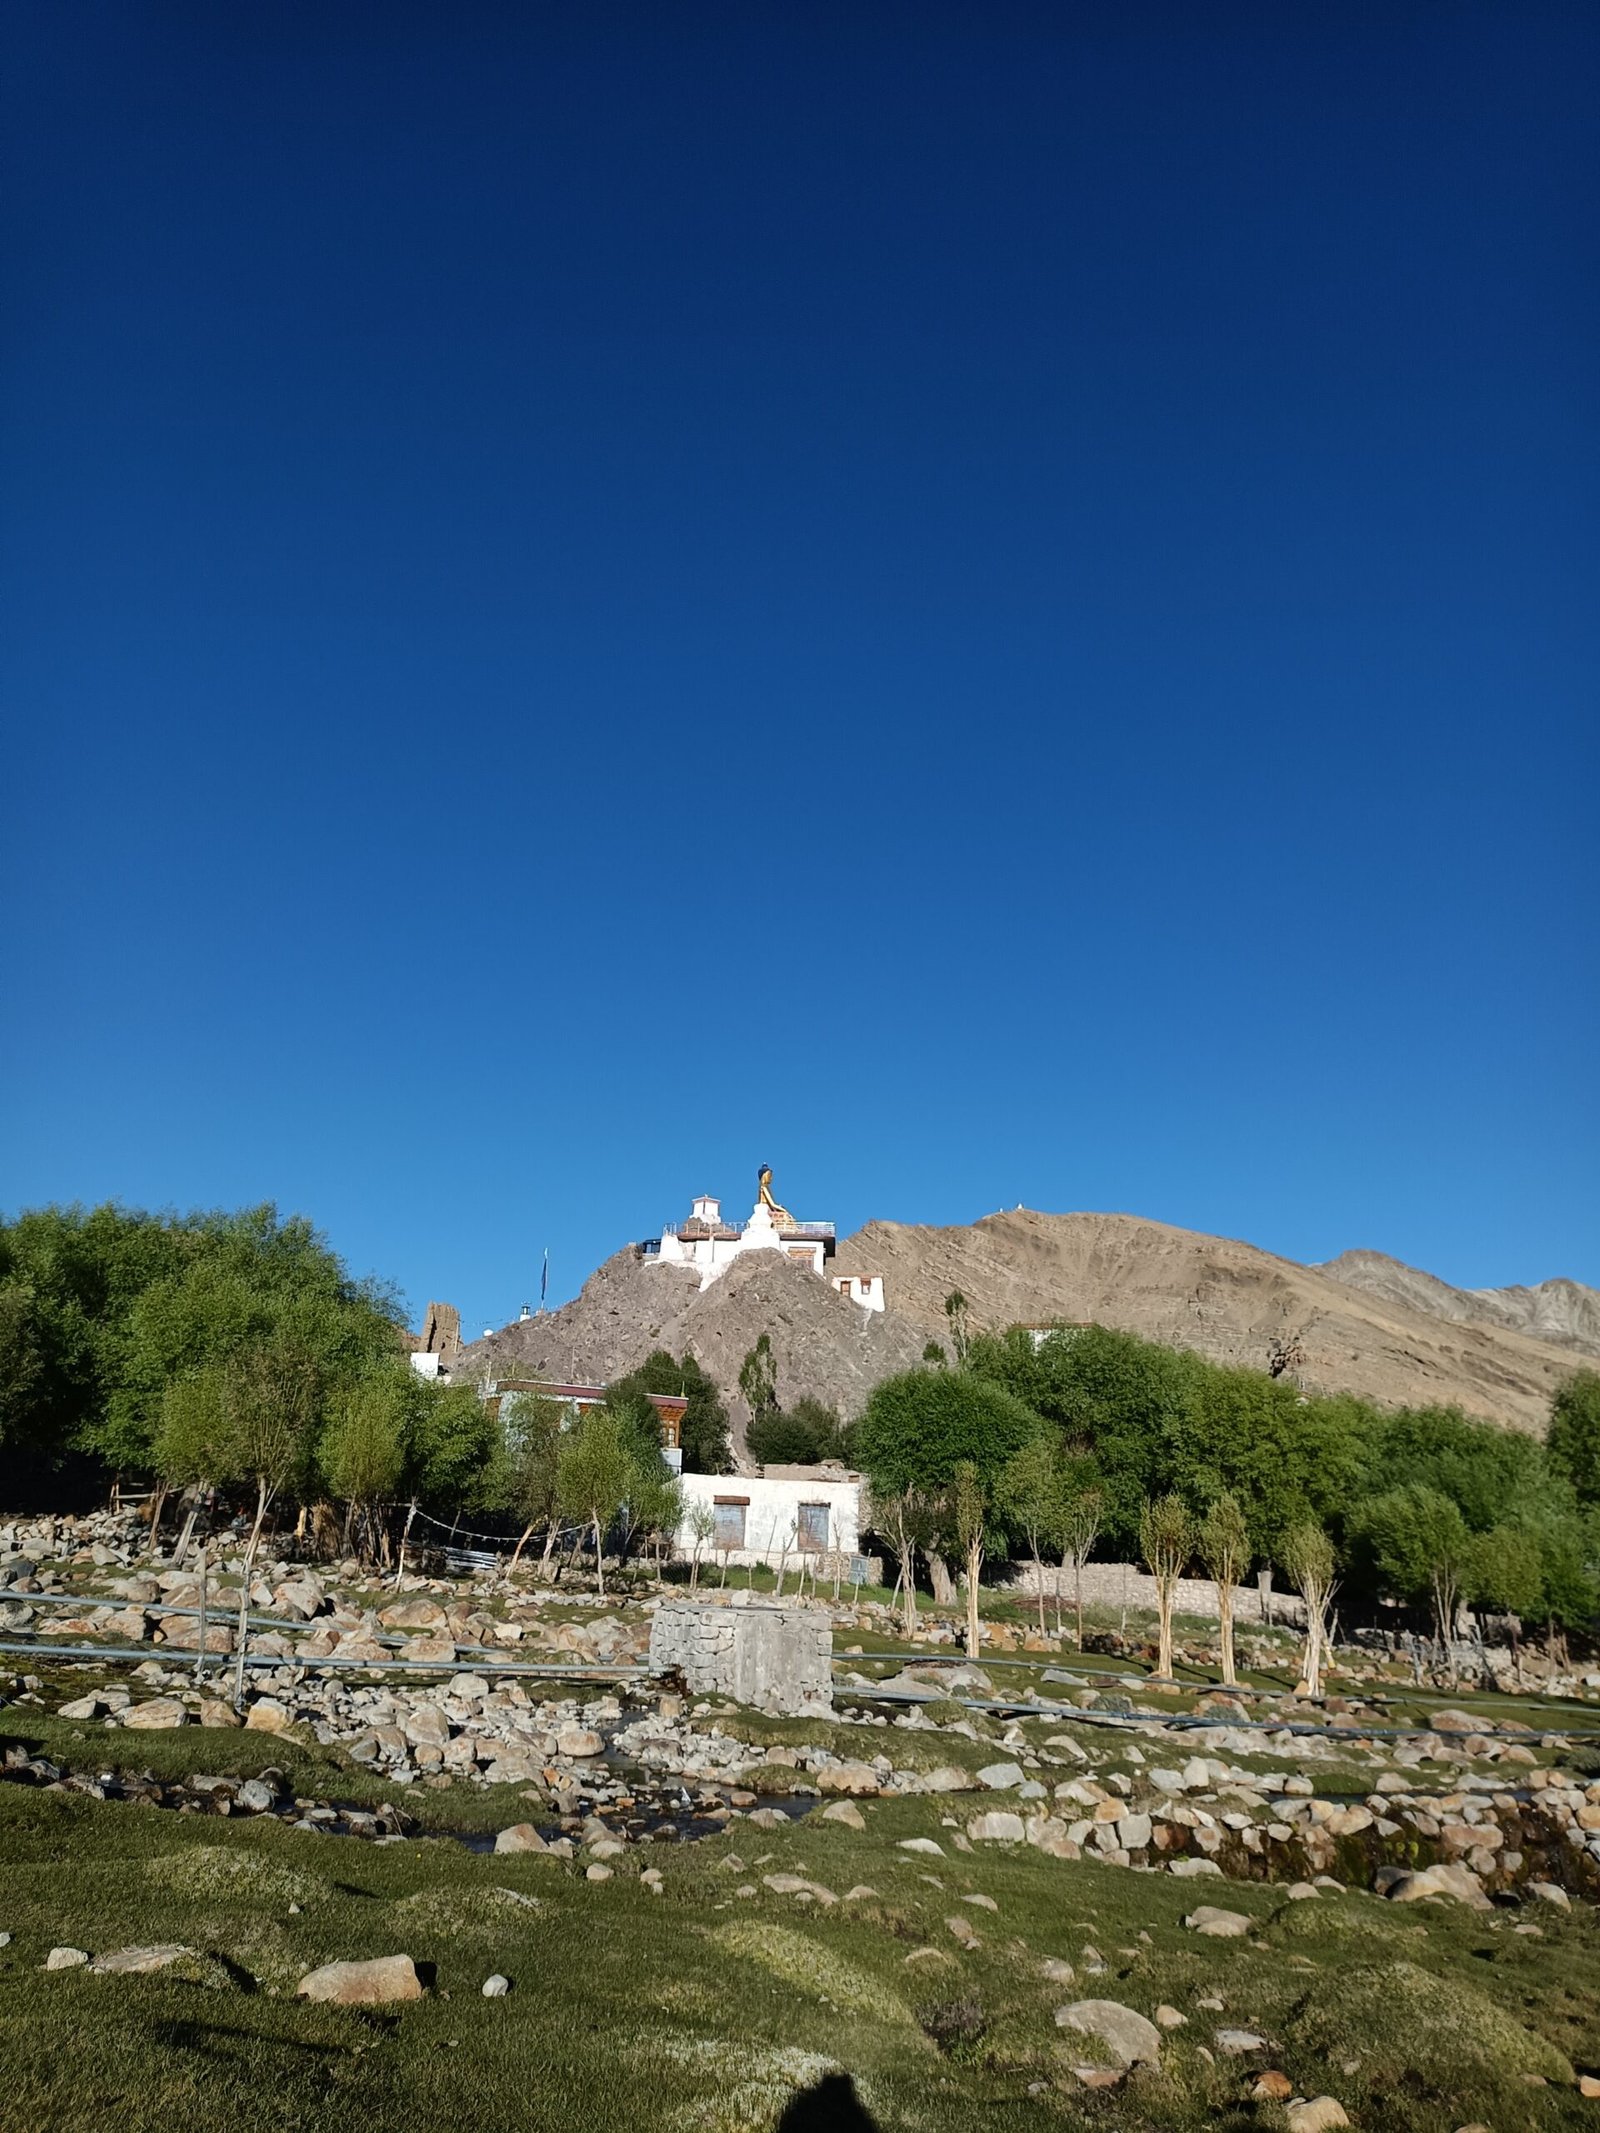
Combines Sham Valley with a full Hemis National Park traverse ending at Jingchen.
Follow the Lamayuru to Chilling itinerary.
Drive to Skiu and rest for acclimatisation.
Trek from Skiu to Shingo.
Cross Ganda La to Yurutse or Rumbak.
Descend to Jingchen and drive to Leh.
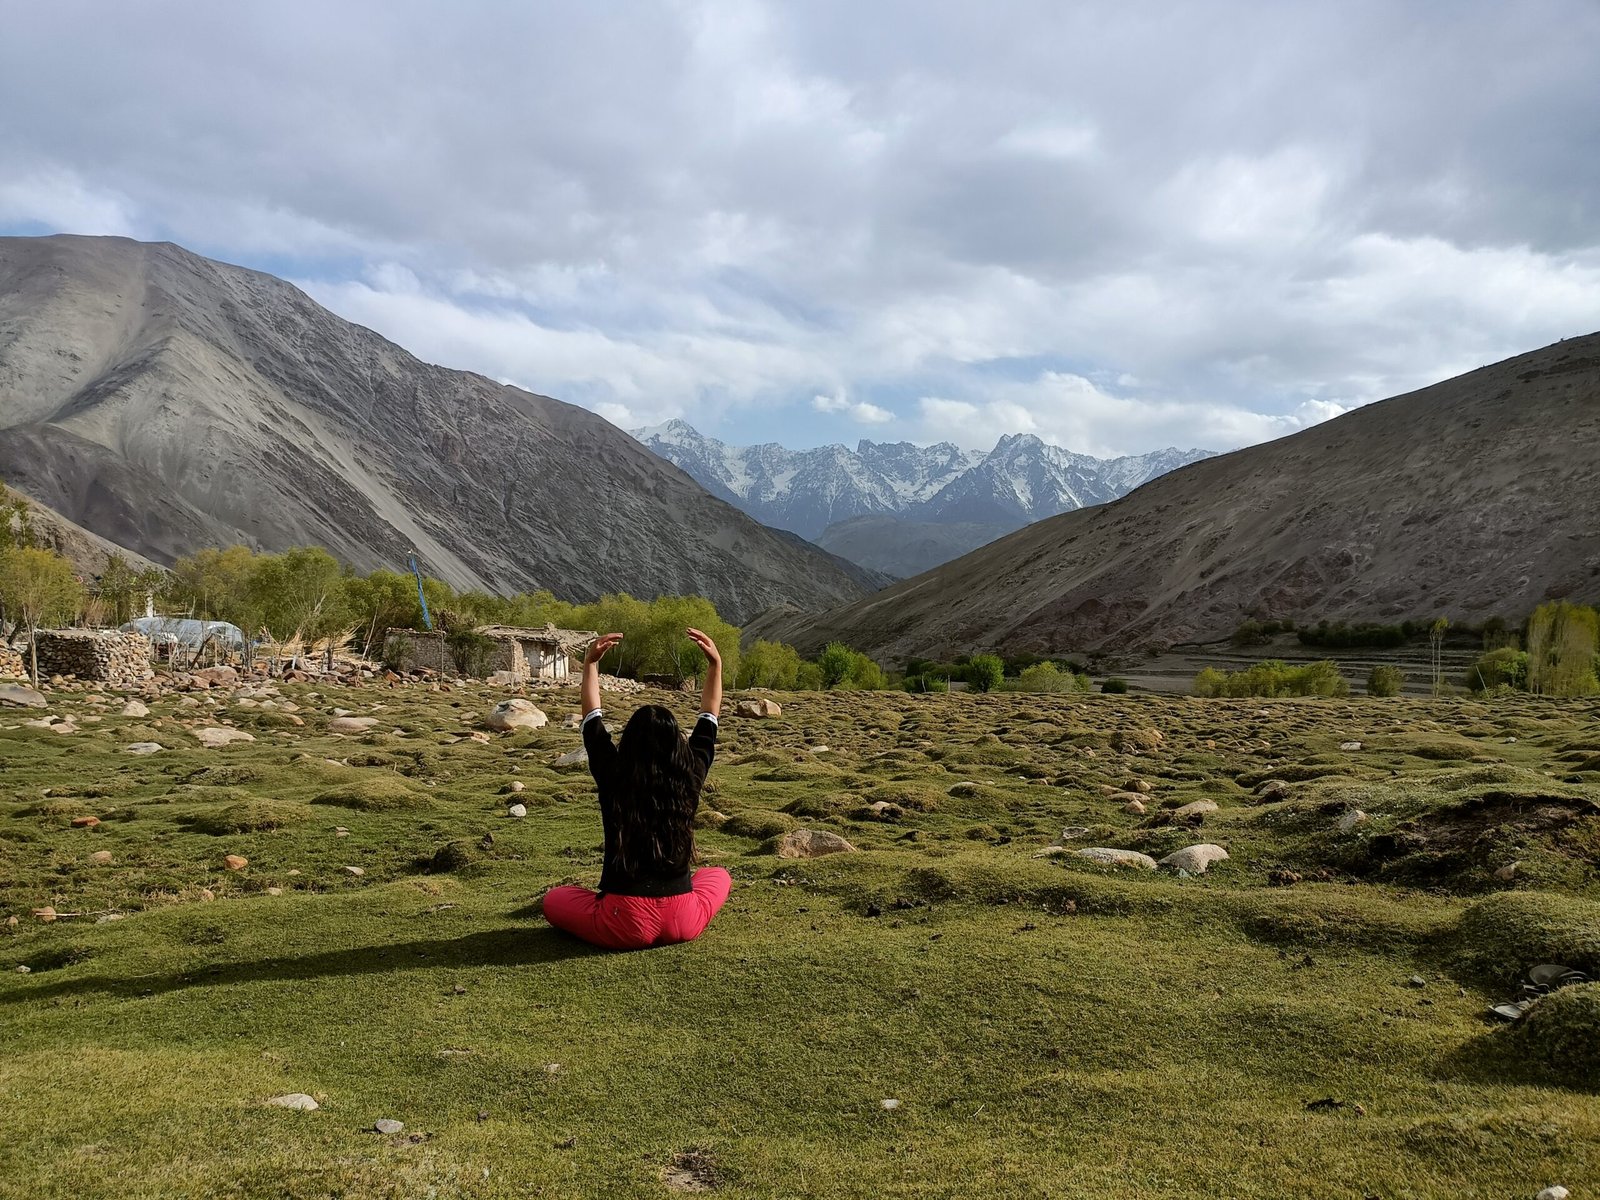
Finishes dramatically by crossing Stok La into the village of Stok.
Follow the Lamayuru to Rumbak itinerary.
Cross Stok La (4,850m), descend to Stok village and drive to Leh.
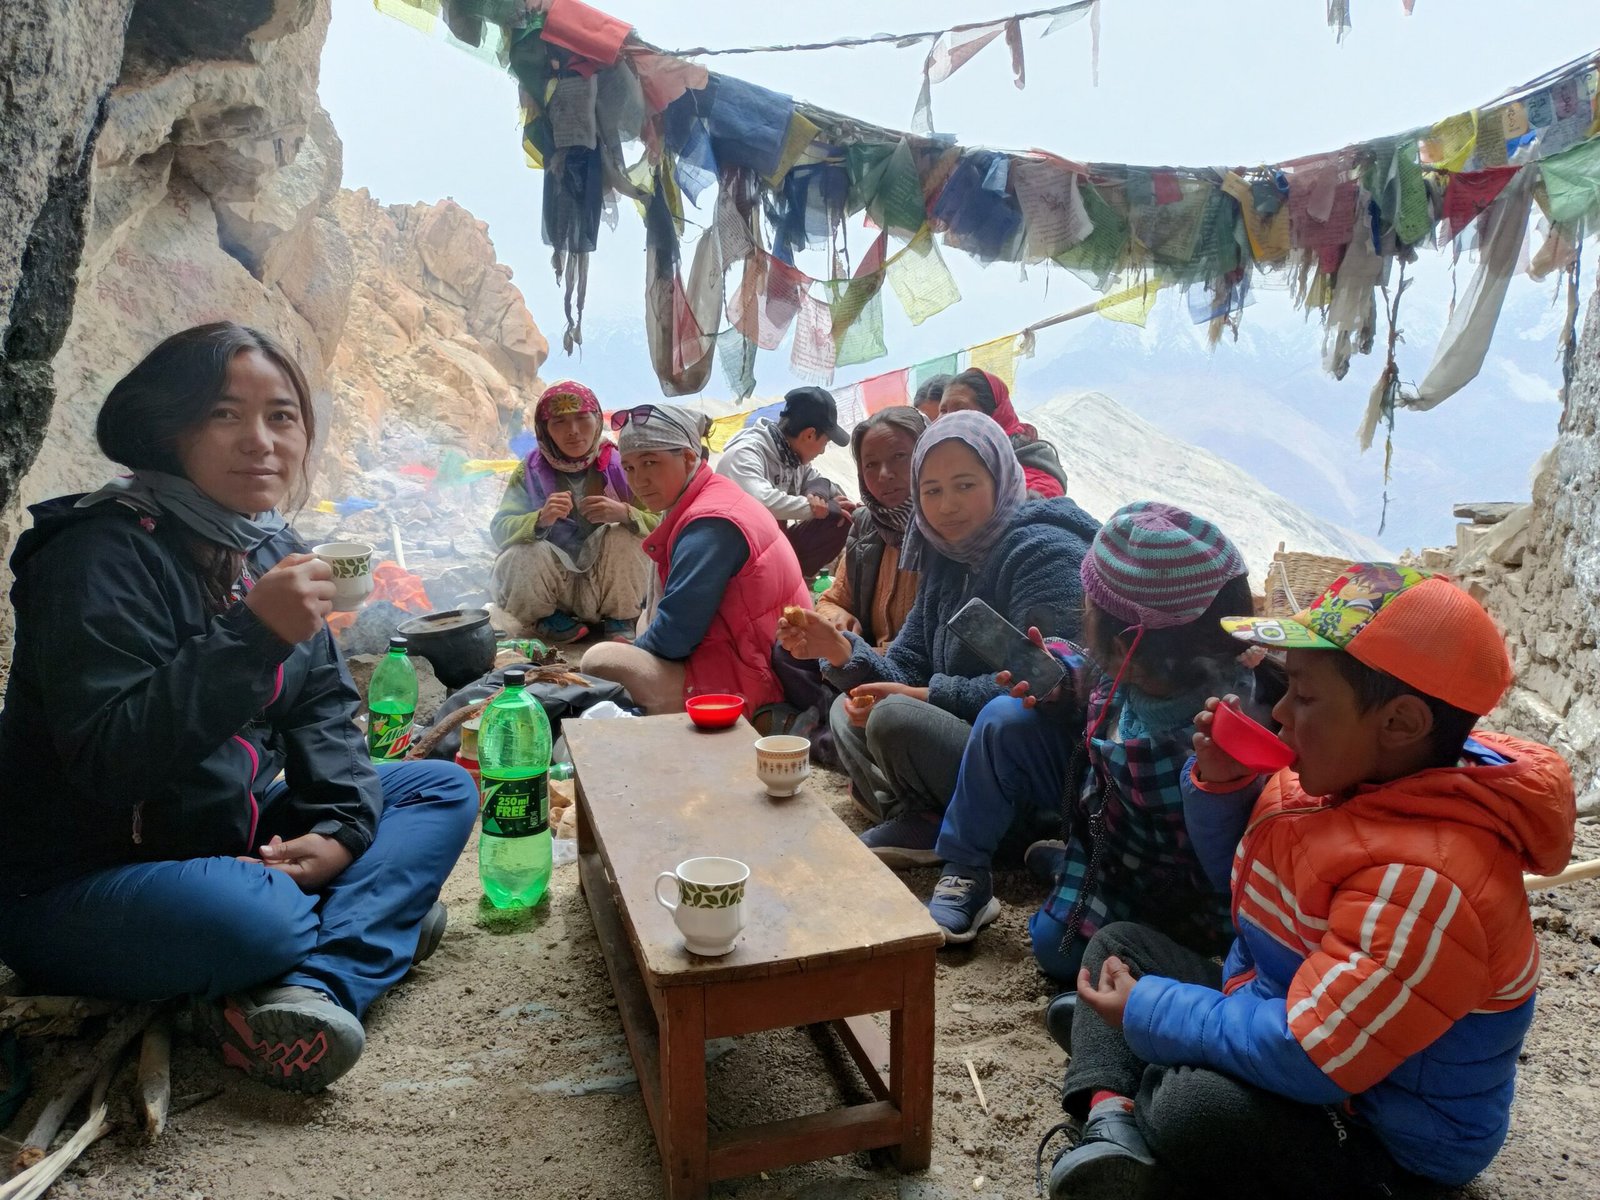
Extends into the complete Markha Valley trek including Nimaling Camp and Gongmaru La.
Follow the Lamayuru to Chilling itinerary.
Drive to Skiu and trek to Sara.
Sara to Markha village.
Markha to Hankar.
Hankar to Nimaling Camp.
Cross Gongmaru La (5,260m) and descend to Chogdo.
Drive from Chogdo to Leh with monastery visits.
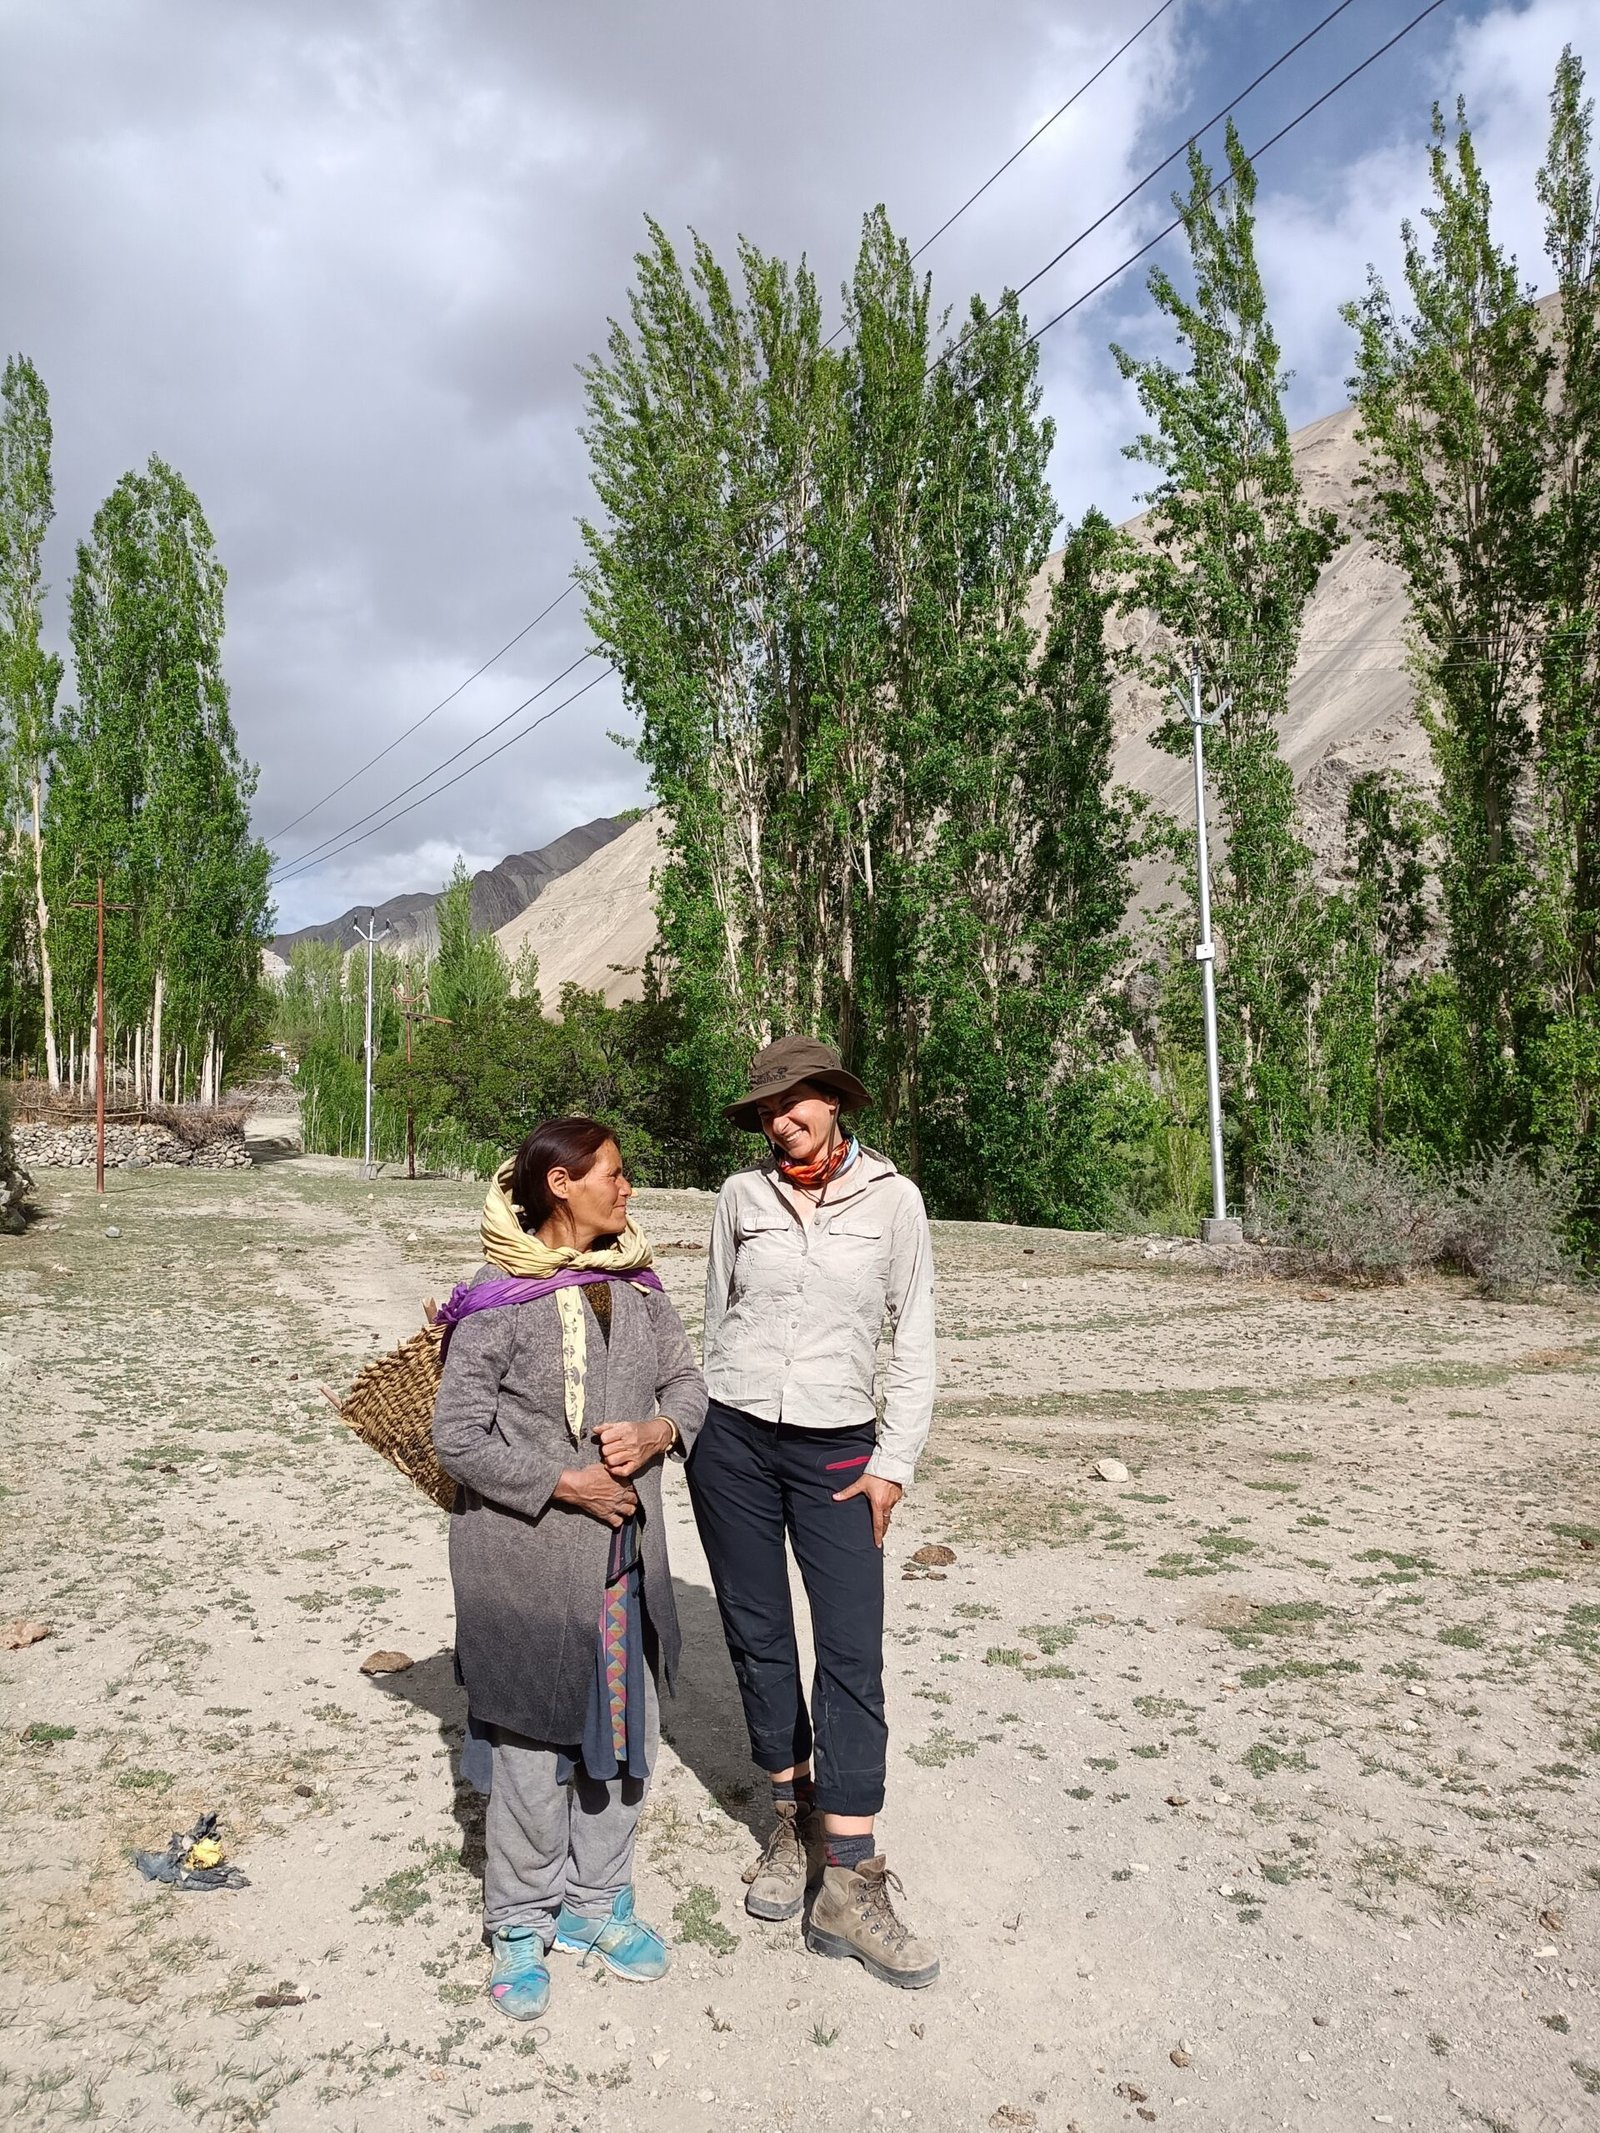
The most comprehensive trek combining Sham Valley, Lamayuru, Hemis National Park and the full Markha Valley.
Complete the Likir to Ang section with acclimatisation.
Continue through Lamayuru to Chilling.
Follow the Markha Valley route via Sara, Markha, Hankar and Nimaling to Chogdo.
Drive from Chogdo back to Leh.
Every route can be customised to your pace, fitness level, and group size.
A deposit secures your booking. Full T&Cs are provided on enquiry.
Let's design your perfect Ladakh journey together.